-
Committee, NW Regional Rep

Trailing arm bush replacement/axle refurbishment
This is a guide for changing the trailing arm bushes and includes a full axle refurbishment/powdercoating with fitment of new copper brake lines and fluid renewal. Not many people appear to have completed this job and I couldn’t find a guide anywhere apart from the one covered in the Haynes. The bushes are available from the club shop for a reasonable price. This is how I tackled the job;
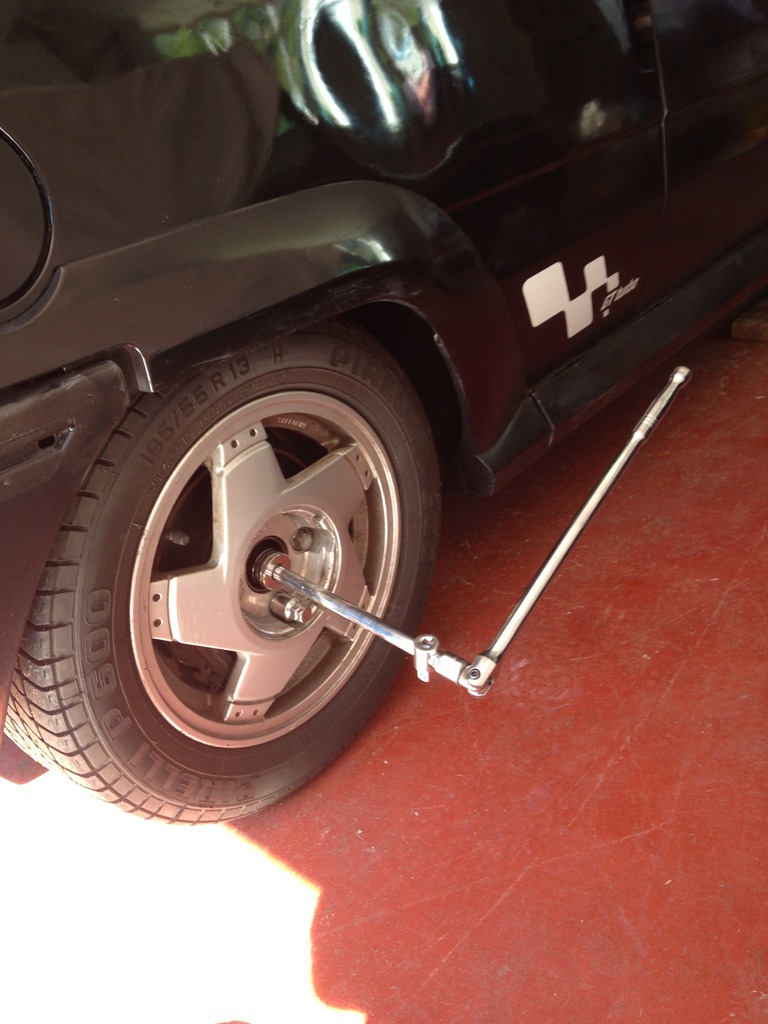
1, Firstly, you need to jack the car up and support it on axle stands. I had the front of the car supported also as I was doing some additional work at that end. If you’re only jacking the rear up make sure you chock the front wheels. Before you raise the car slacken off the hub nuts (30mm nut) then remove the wheels once raised.
2, Remove the handbrake cable brackets (torx screws) and disconnect the end of the hand brake cables from the brake callipers (you can push the arm forward to help you) Once they’re free pull the cables through the axle and tie/tuck them out of the way. If you have a rear exit exhaust you might find it useful to remove it from the centre section to aid access to the axle. I have a side exit so didn’t need to do this.
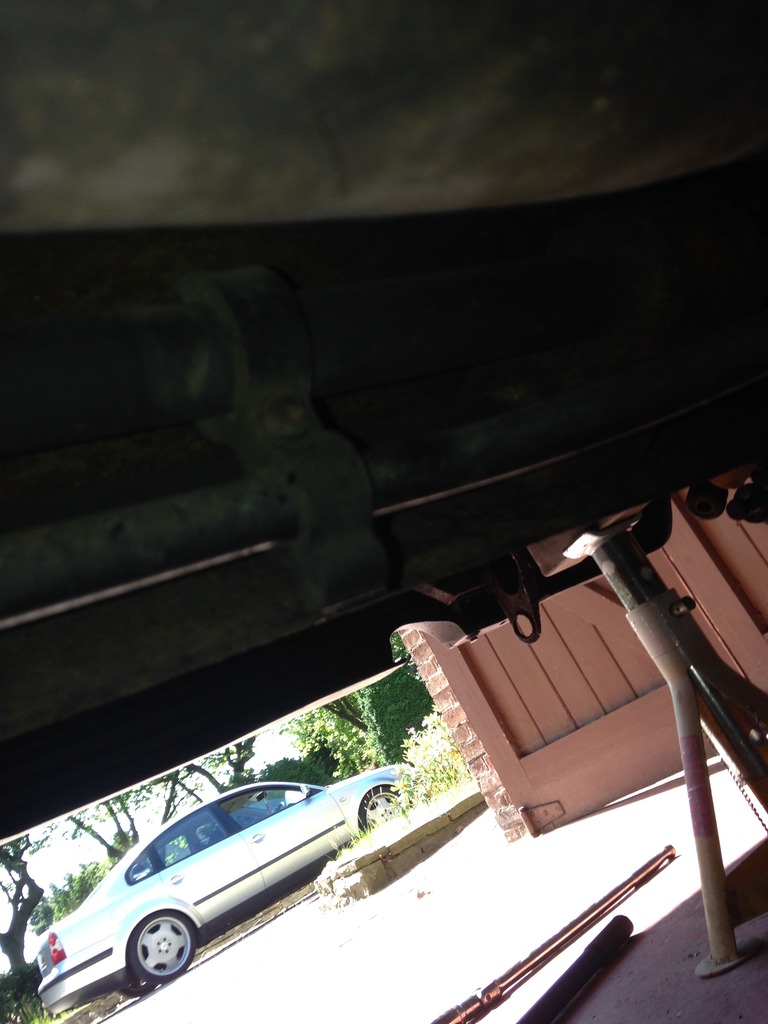
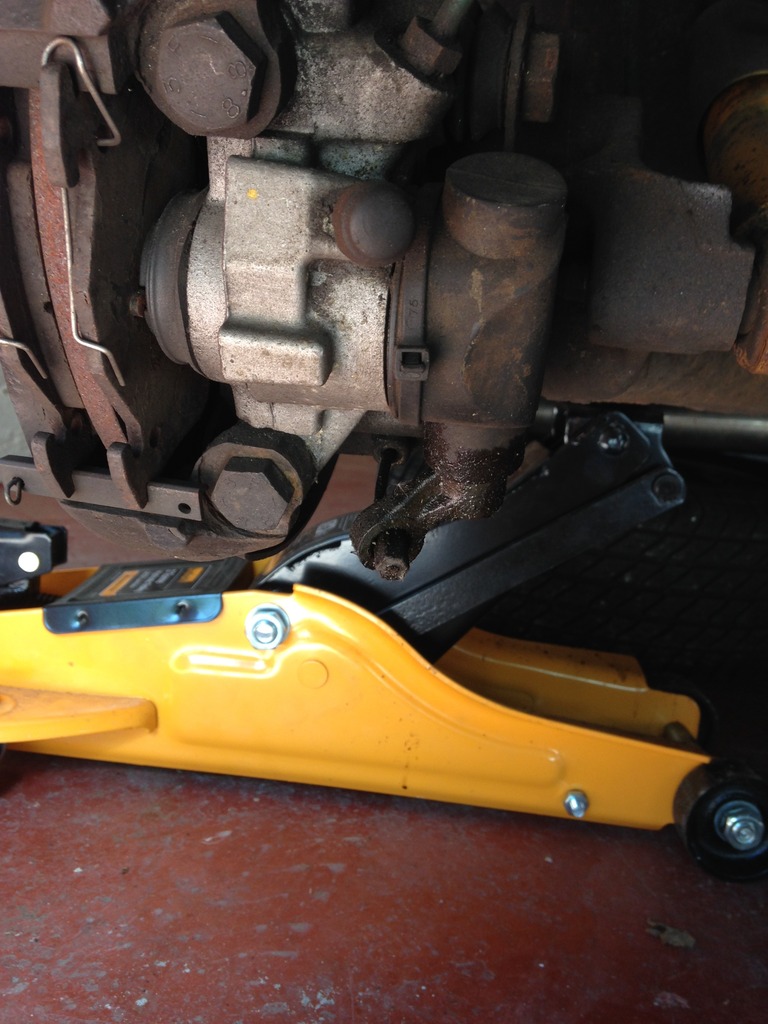
3, Unbolt the bottom of the shock absorbers. Measure the distance from the centre of the hub to the top of the arch on both side, this will give you a reference for the ride height once you come to refit the torsion bars later on.
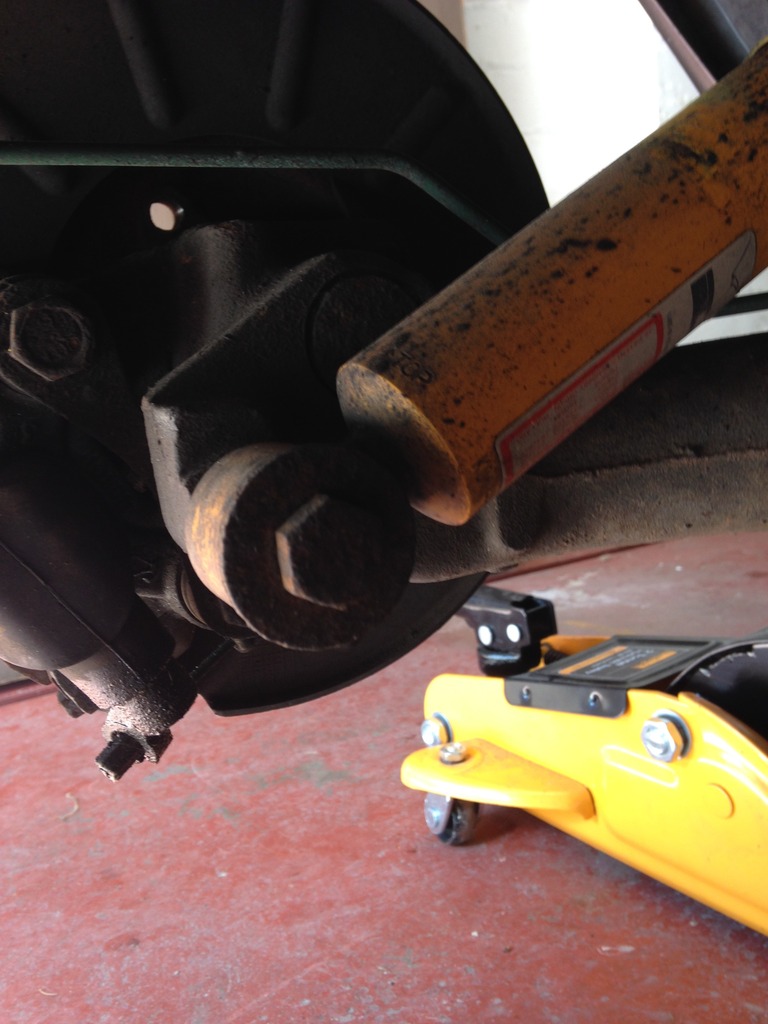
4, Disconnect the rear brake lines from the axle and unhook the brake bias spring.

5, Put a trolley jack under the centre of the axle and take up the weight. Remove the rear seats to reveal the bolts that hold the axle to the car. Loosen the 4 nuts and bolts holding the axle on. These nuts will be very tight and in my case proved quite problematic to remove due to years of rust and underseal!. You can loosen the nuts from under the car and the bolts should be prevented from spinning by the brackets under the rear seats. If they spin you will need an assistant to hold a spanner/ratchet on them.
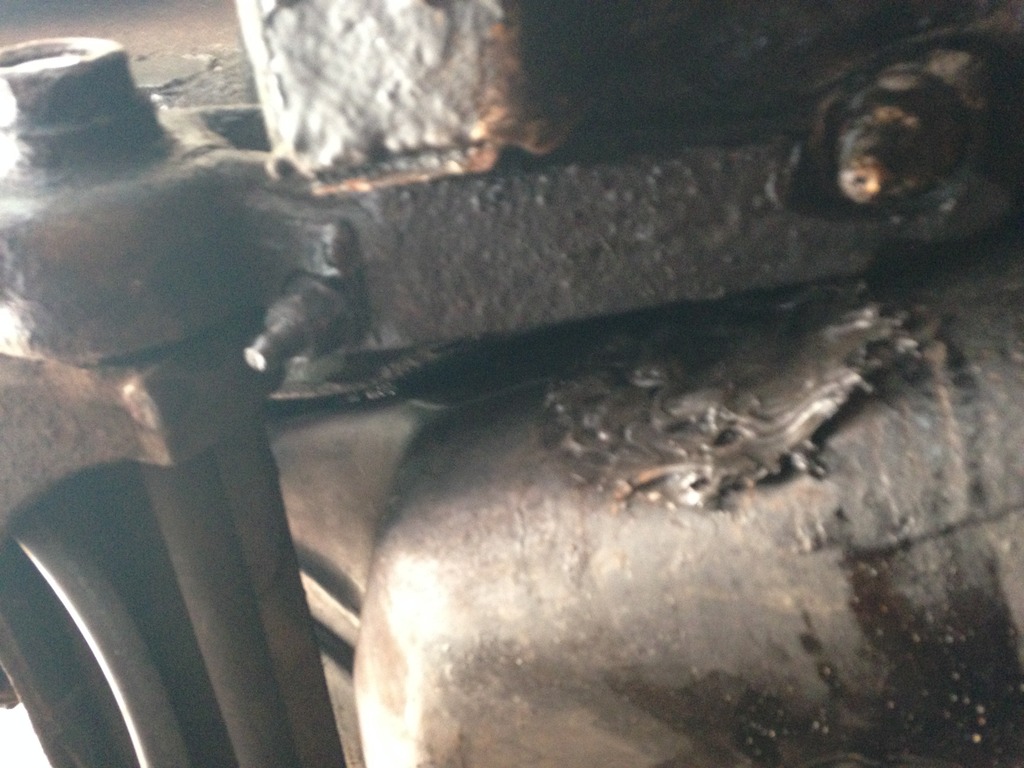
6, Once the nuts have been removed withdraw the bolts from under the rear seats and lower the axle on the jack carefully.
You should now be looking at something like this – yuk.
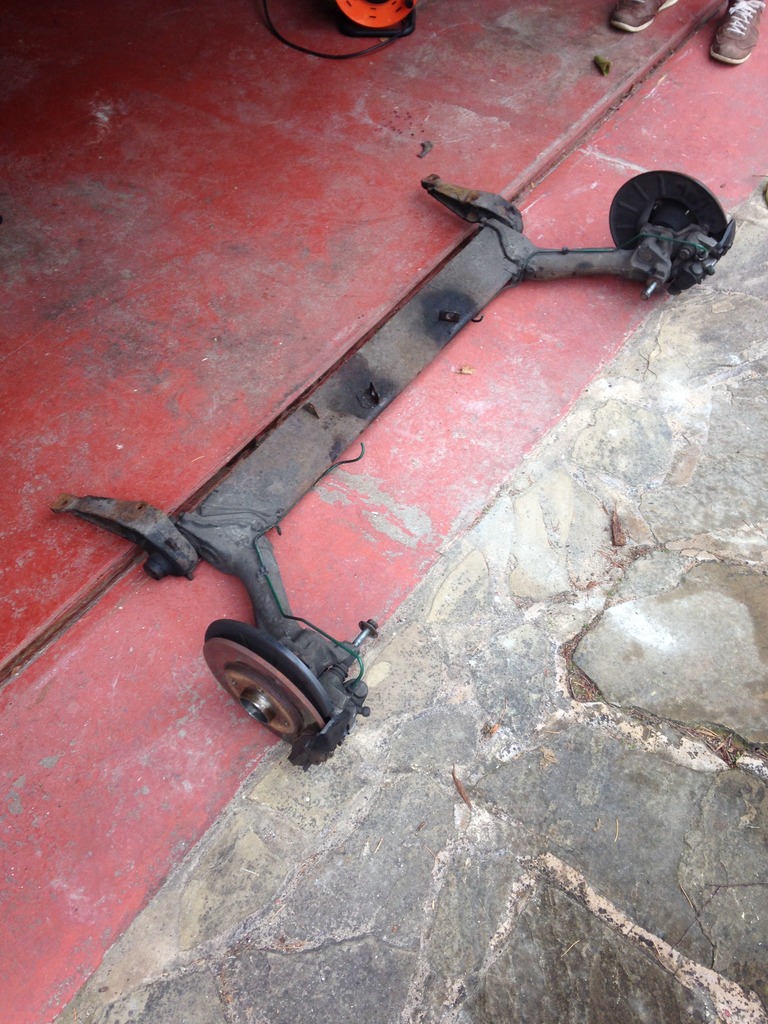
7, You now need to strip down the axle. Remove the large hub nut that you loosened earlier. Remove the brake calliper frames/callipers and brake pads and slide the brake discs off the hub. See the RTOC article https://www.rtoc.org/boards/showthrea...(from-old-site) (or Haynes) for replacing the rear discs and pads if you are unsure how to do this, its pretty straightforward though. Remove the brake disc covers – these bolts are small and will likely be rusty so plenty of WD40 or similar will be needed here. I removed the copper brake lines from the callipers at this point also as I was going to renew them (might as well while the axle was off the car)
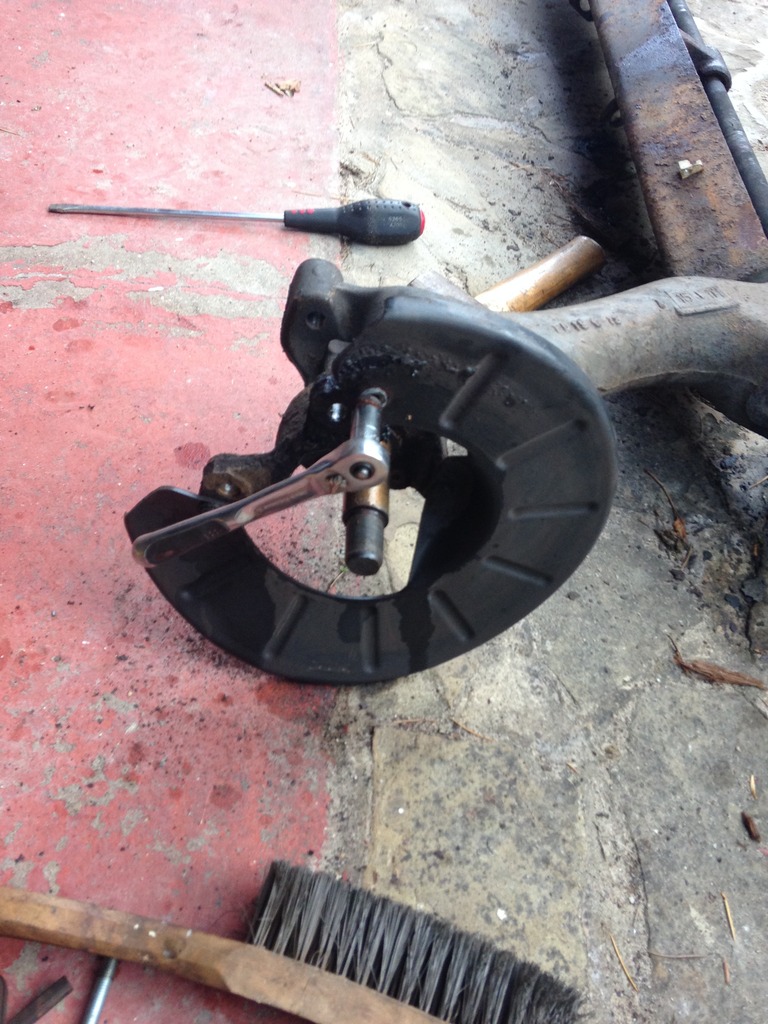
8, Remove the torsion bars – see RTOC article for this https://www.rtoc.org/boards/showthrea...(from-old-site) The bars will be difficult to shift if they have not been out recently. I found this the most difficult part of the whole job but other people have removed them without issue. Lots of WD40 or similar will be needed and maybe even the addition of heat. Make a note oftheir positions on each side.
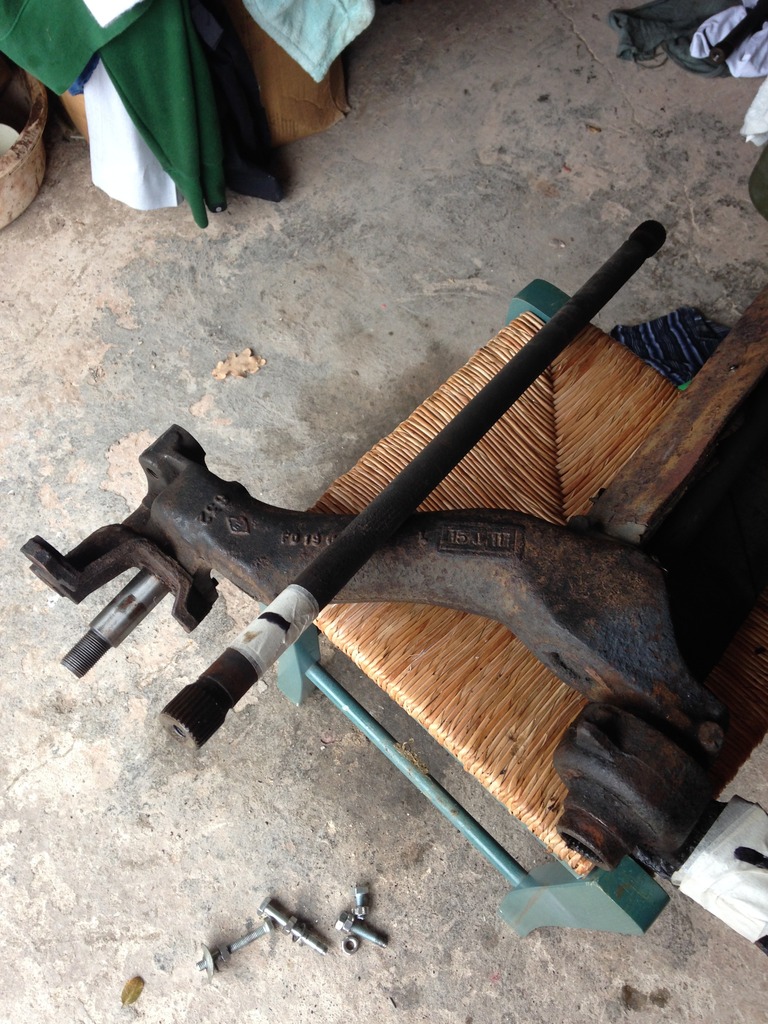
9, Once the bars are out it’s time to remove the trailing arms from the axle. Make a note of how they’re fitted before starting. To be honest anything goes here – I used a large pry bar to lever them off. As the bushes were so old they basically fell apart and left the outer metal race rusted into the trailing arm while the rubber and inner sleeve part was still attached to the axle! The rubber can be levered off easily enough but the inner sleeve was more difficult to remove, I used a combination of a lump hammer and a chisel to remove it from the axle. I had to chip away the outer race that had rusted itself into the trailing arm, this actually came out quite easily once I got a small screwdriver under it.
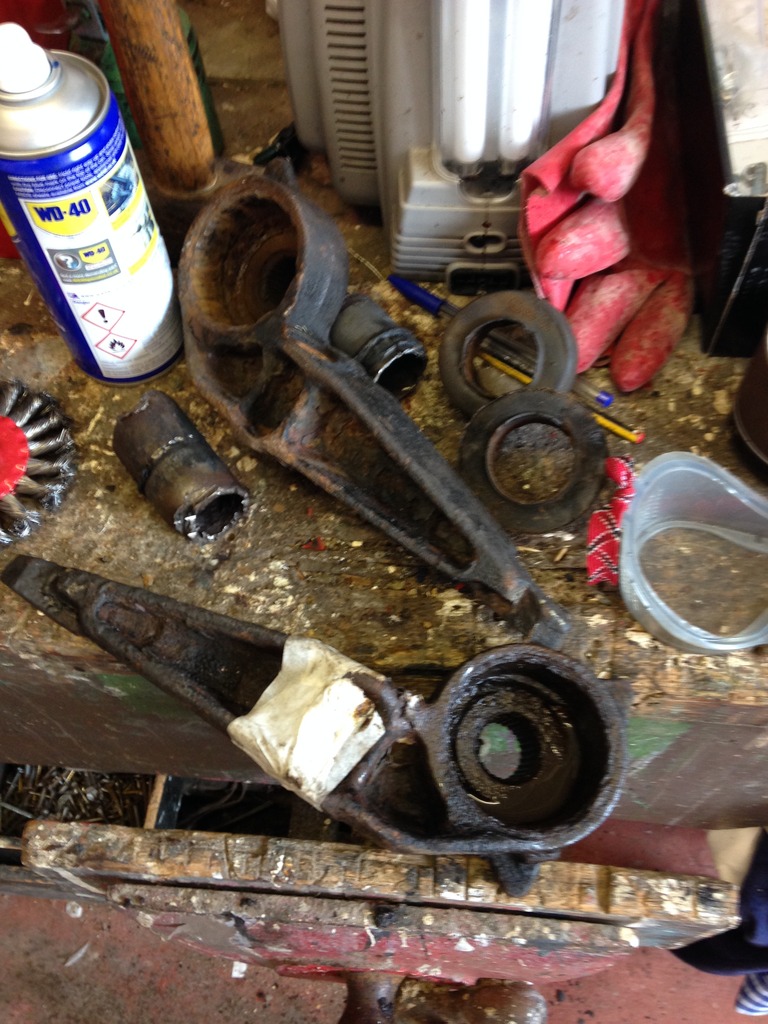
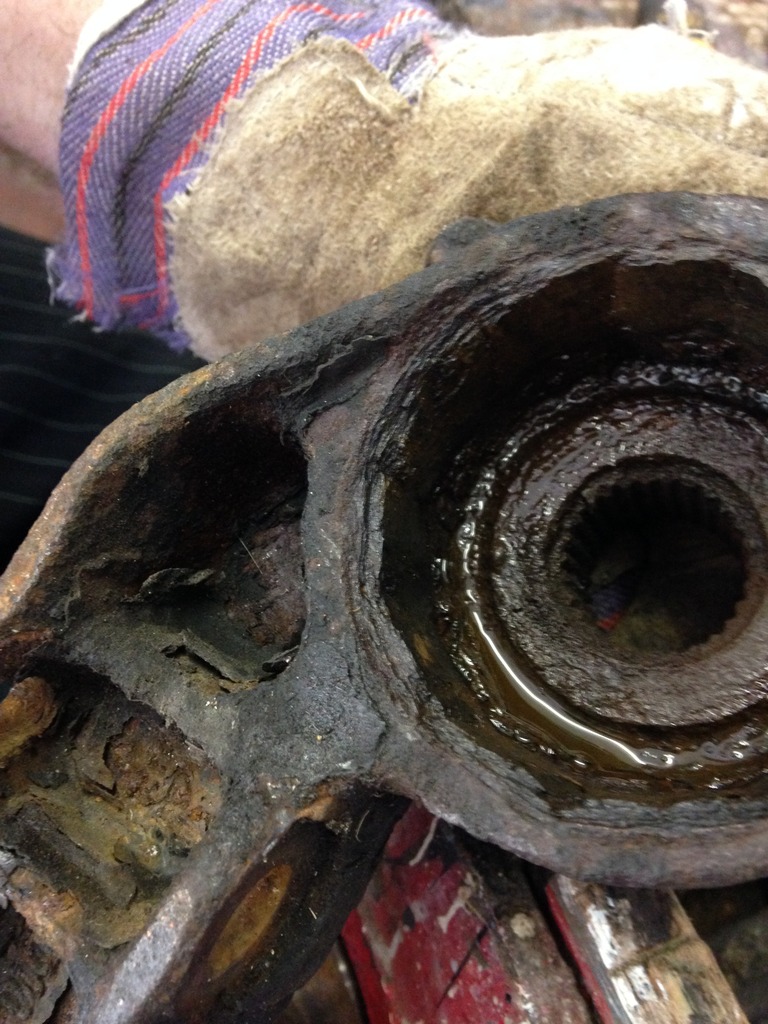
10, Once the trailing arms are off clean them up as much as possible. I used an angle grinder with a wire wheel attachment. I was tempted at this stage to have the arms powdercoated but decided against it in case they got powercoating in the recess where the bush will be pressed into. I did not want to fit the bushes first as the powercoating process involves baking at very high temp which will likely have melted the rubber bushes. Instead I found some paint in the garage (Honda Vesuvio red?!) The new bushes can be pressed into the trailing arms by carefully tapping them into place using some grease to help them along the way. I cheated and asked my mechanic to press them in for me while he was making up my new brake lines.
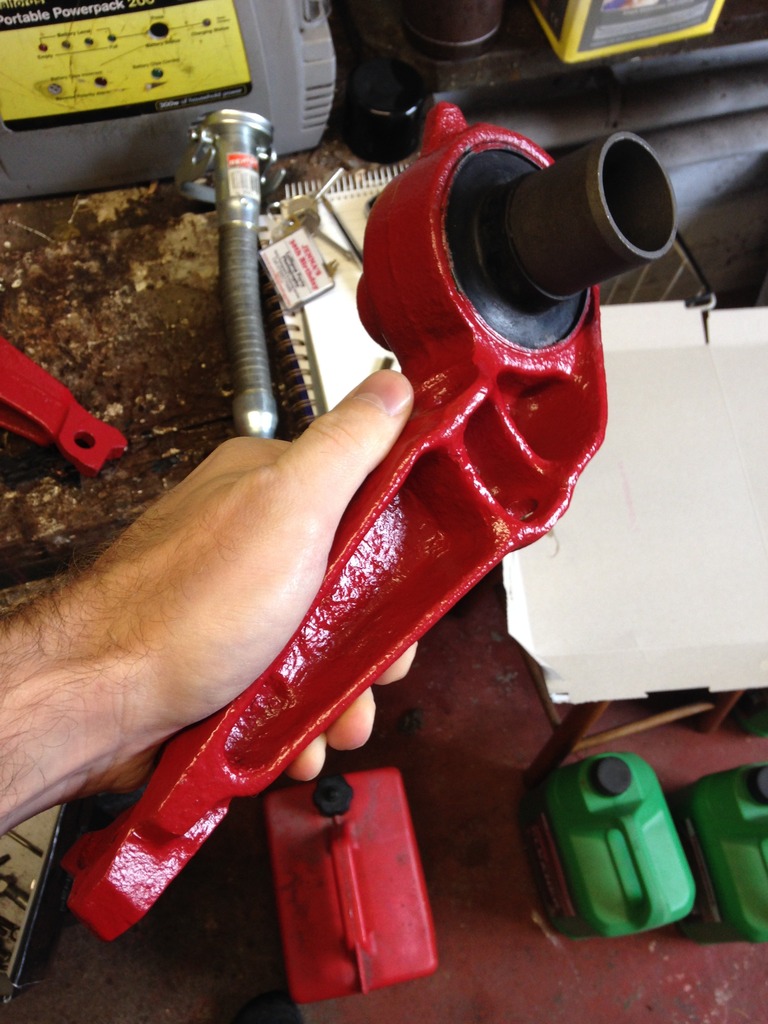
11, Next thing to do is tidy up the axle. I sent mine away for bead blasting and powdercoating but it’s entirely up to you. You could use a wire wheel on an angle grinder and some primer/paint/stone chip combo.

12, Once the axle is ready and the new bearings have been fitted into the trailing arms you need to press them onto the axle. The end of the metal sleeve is chamfered which helps but they are a tight fit. I used a leather mallet to bash them onto the axle. Make sure you refit them on the correct side and line them up in a similar position that you removed them.
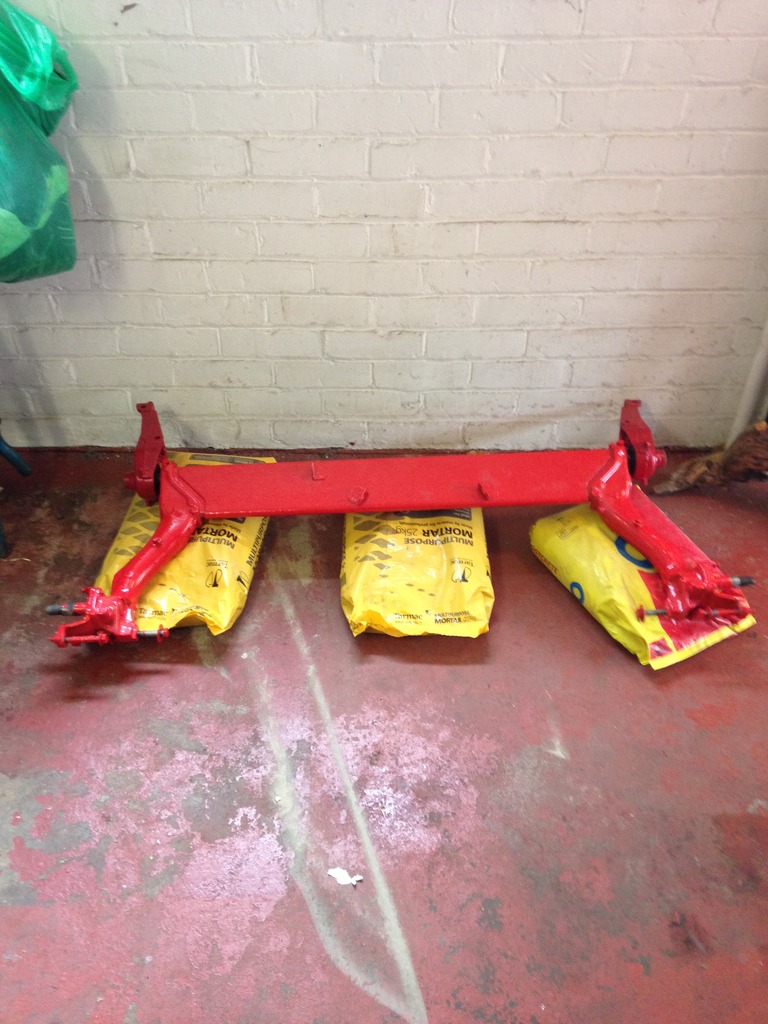
13, Time to start getting things back together! Put the axle carefully onto a trolley jack and manoeuvre it under the car. Jack it up until you can see the bolts holes are lined up with the holes on the car and insert the bolts in from under the rear seat. Secure all 4 nuts tightly.
14, Re-fit the brakes and brake lines. Clip the brake bias spring back onto the axle and refit the hand brake cables. I had difficulty in doing this and ended up having to slacken the cables off via the yoke under the car/above the exhaust centre section, then retighten them once the cables were in situ.
15, Bleed the rear brakes. I took the opportunity to bleed all 4 brakes renewing the brake fluid while the car was up on stands. Consult the Haynes if you are unsure on how to do this. Before you start you will need to push the compensator/bias arm forwards so the callipers bleed correctly, you can use a cable tie to hold it in place but remember to remove it once you have bled the brakes! Some people use an Ezybleed kit but I prefer the old fashioned pump the pedal method. Start with the calliper furthest away from the master cylinder
16, You now need to refit the torsion bars. You will need to raise the trailing arm up with the use of the trolley jack into the desired height using your measurements taken in step 3, again refer to the RTOC lowering article for this. A top tip is to heavily lube the bar ends to aid removal in the future if needs be. The bars tapped in easily with the use of aleather mallet.
17, Refit the lower shock absorber bolts.
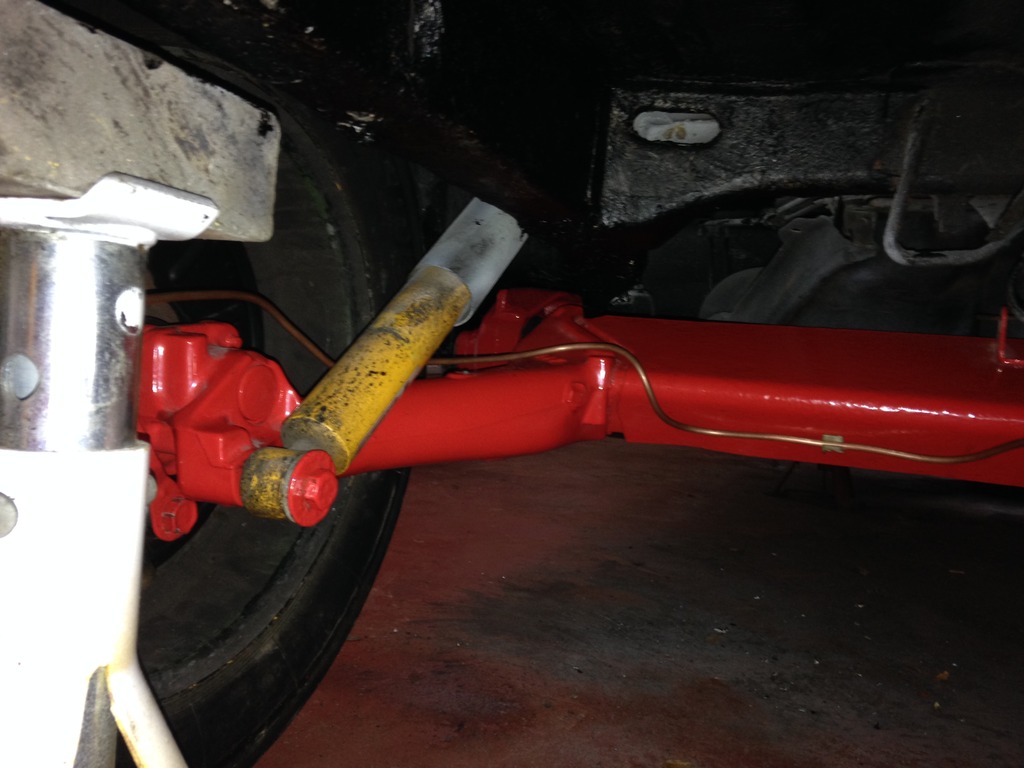
17, Refit the hub nuts and wheels. Lower the car to the ground and retighten the nub nut. Haynes quote the torque setting as 160lb but just do it FT to be sure!
You should now be left with something that looks like this…..
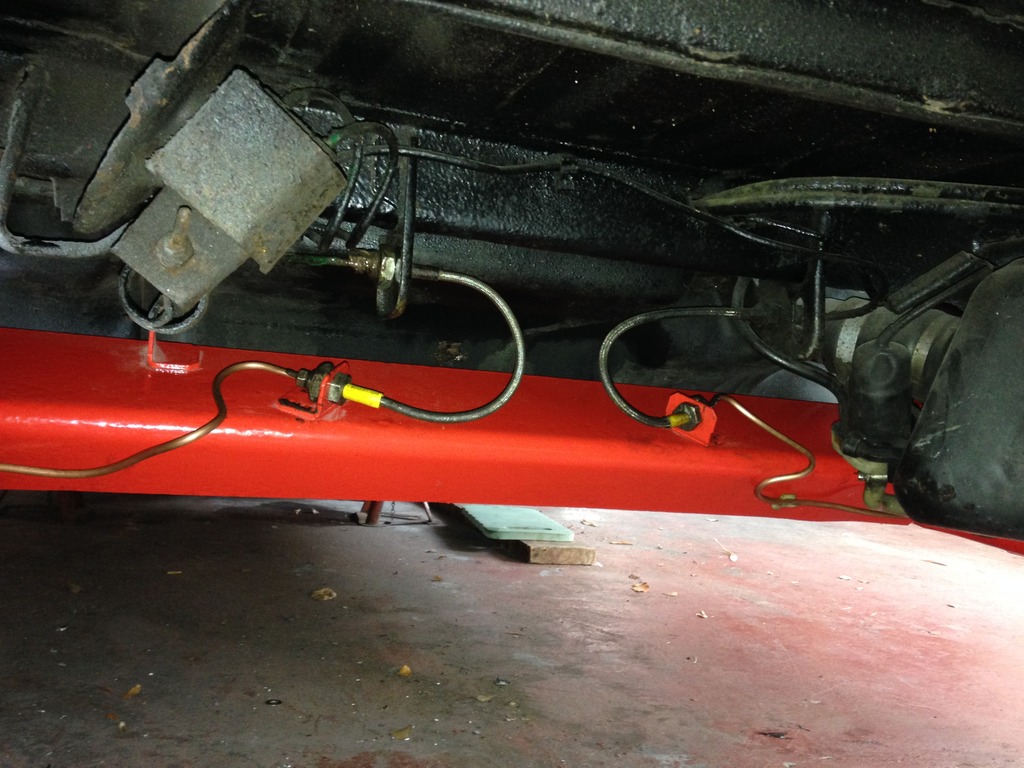
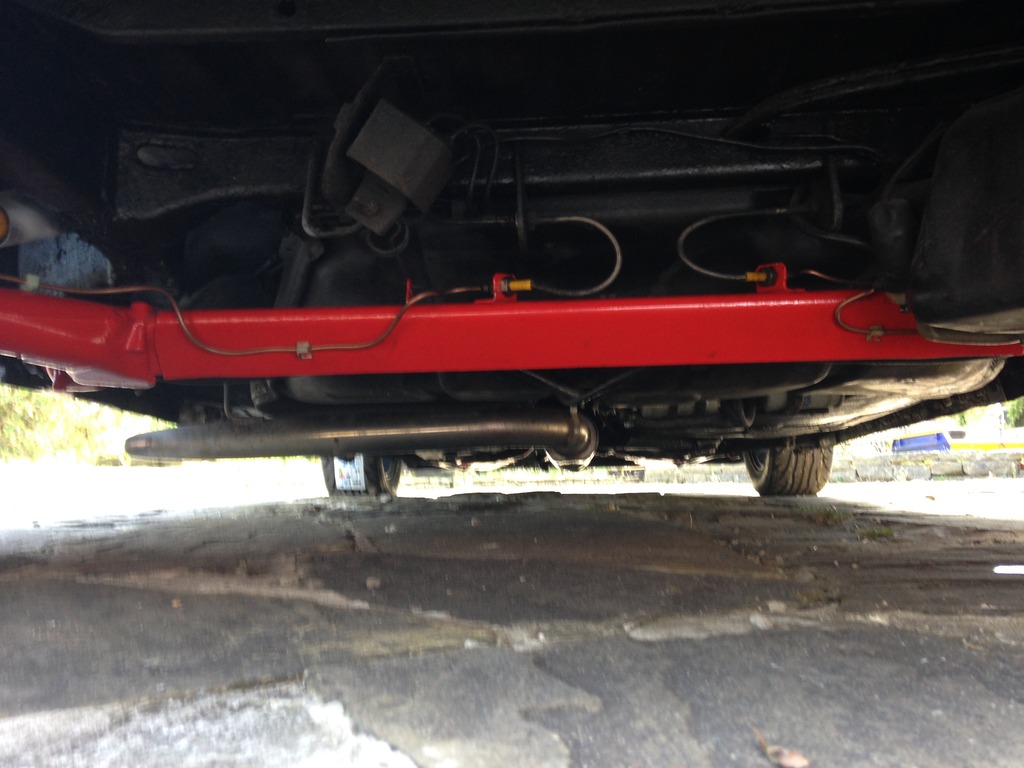
If you have any questions feel free to ask and if I have left anything out let me know!
Contributed by Alex Woolley 29/6/16
 Posting Permissions
- You may not post new threads
- You may not post replies
- You may not post attachments
- You may not edit your posts
-
Forum Rules


 Reply With Quote